Import/Export via FTP
Mapit GIS can connect to your FTP or SFTP server to import projects and layers, and to export projects. This is useful for teams that manage field data on a shared server, or for transferring files without relying on cloud services.
- Android
- iOS
Prerequisites
Before using FTP import or export, you must configure your FTP/SFTP connection in Settings - Remote Connections.
- Open Settings from the main menu.
- Tap Remote Connections.
- Under the FTP/SFTP section, enter your server host, port, username, and password.
- Tap Test Connection to verify everything is working.
See Remote Connections for detailed configuration options.
The FTP/SFTP option is always visible in the import and export sheets. If you tap it before configuring a host, the app offers a direct shortcut to the Remote Connections settings screen so you can set it up in one step.
Importing a Project from FTP
- Open the Projects screen from the main menu.
- Tap the + button and select Import Project.
- In the import source sheet, select FTP/SFTP.
- The app tests the connection to your FTP server. If the connection fails, an error message is shown with an Open Settings button.
- If the connection succeeds, a file browser displays all
.gpkgfiles found on the server. - Tap a file to download and import it as a new project.
- A progress dialog shows the download status.
Importing Layers from FTP
- Open the Layers screen from the main menu or map menu.
- Tap the + button and select Import Layer.
- In the import source sheet, select FTP/SFTP.
- The app tests the connection and displays matching files from the server.
- Select a file to download and import it as a new layer.
Supported layer formats for FTP import:
| Format | Extension |
|---|---|
| GeoJSON | .geojson |
| ArcJSON | .json |
| CSV | .csv |
| KML | .kml |
| Shapefile | .zip |
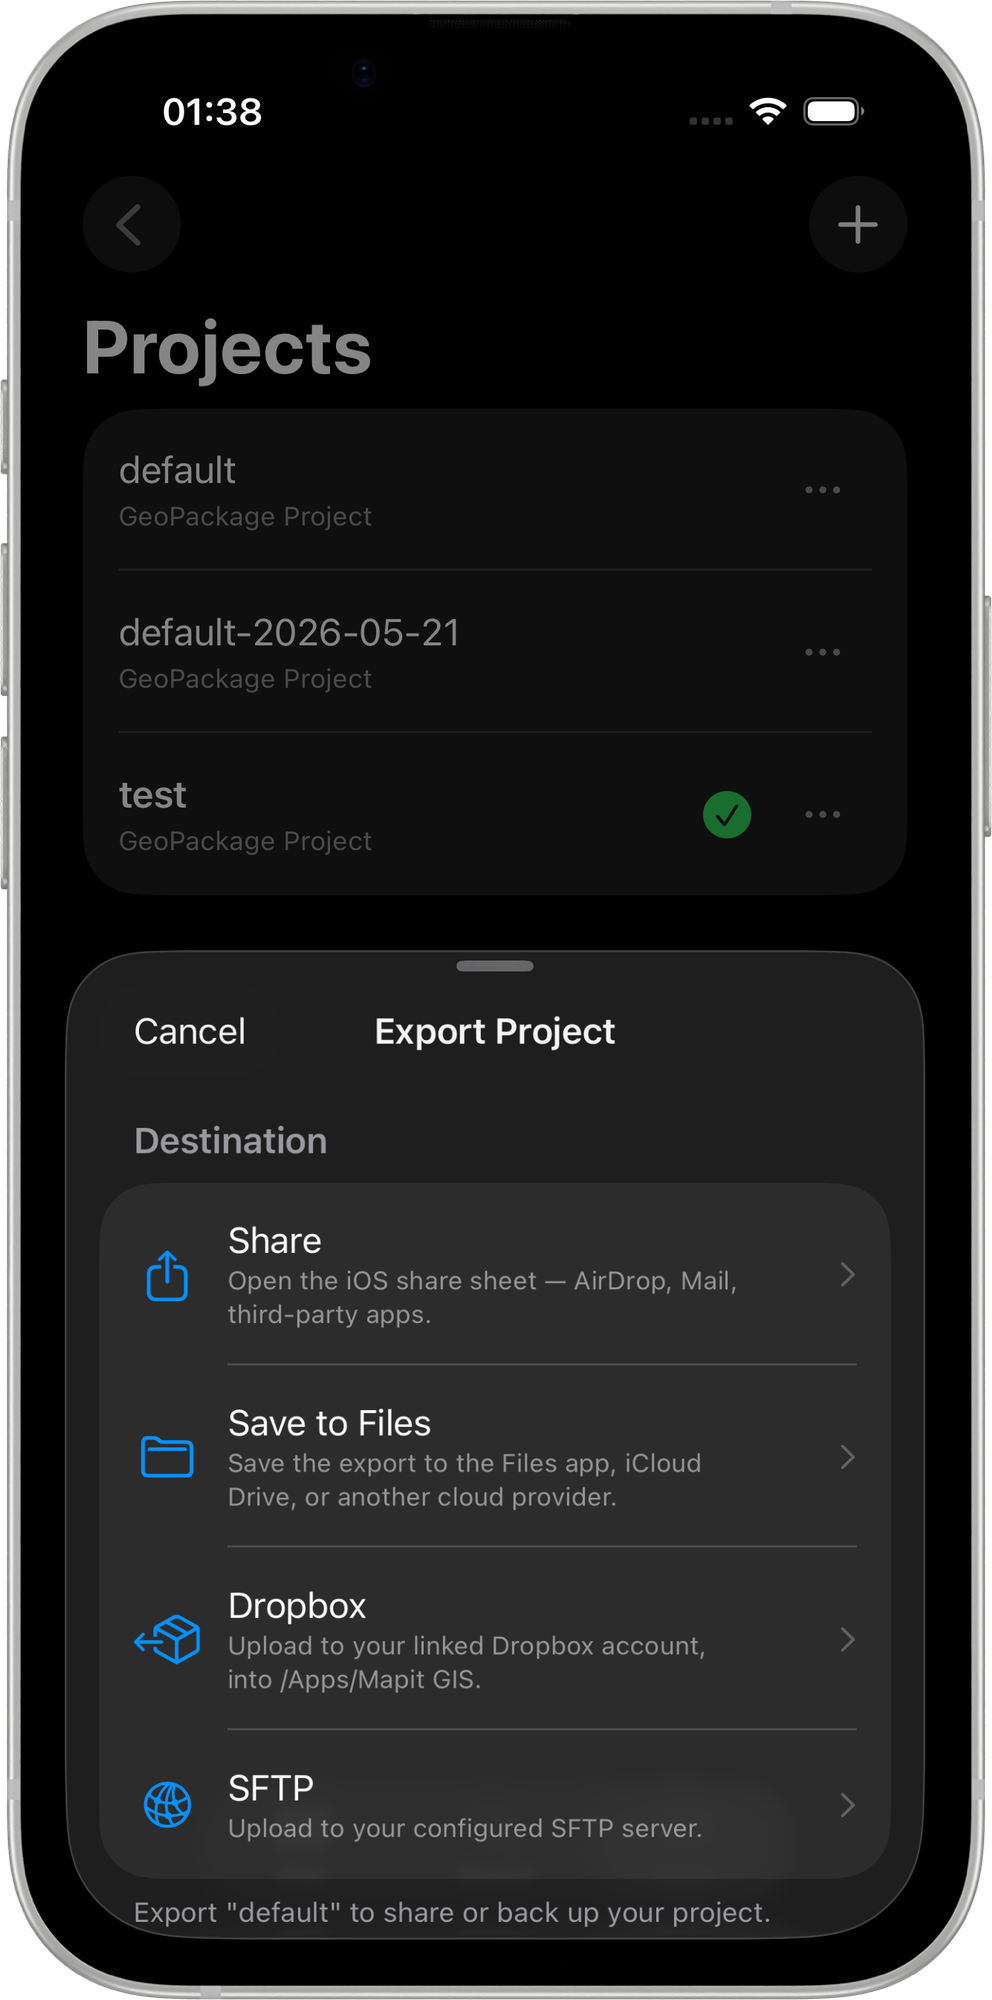
Exporting a Project to FTP
- Open the Projects screen from the main menu.
- Tap the project you want to export to expand the action buttons.
- Tap the Export button (share icon).
- In the export destination sheet, select FTP/SFTP.
- The app tests the connection before uploading. If the connection fails, a message is shown.
- If the connection succeeds, the
.gpkgfile is uploaded to the configured server path. - A progress dialog shows the upload status, and a confirmation message appears on completion.
The file is uploaded to the Server Path configured in your FTP settings. If no server path is set, the file is uploaded to the root directory (FTP) or the home directory (SFTP).
Connection Testing
Every time you initiate an FTP import or export, the app performs a live connection test before proceeding. This ensures that:
- The server is reachable
- Your credentials are valid
- The connection is stable
If the test fails, you will see a clear error message and an option to open the Remote Connections settings to fix the issue.
Troubleshooting
| Issue | Solution |
|---|---|
| Connection failed | Verify host, port, username, and password in settings. Use Test Connection to diagnose. |
| No files shown | Check that files exist in the configured server path and have the correct extension |
| Upload fails | Ensure you have write permissions on the remote directory |
| Slow transfers | FTP transfers depend on your network. Use Wi-Fi for large files. |
If your server supports both FTP and SFTP, prefer SFTP for encrypted, more reliable transfers.
FTP import and export require the Import/Export entitlement, available on Pro and Pro+ tiers.
Mapit GIS for iOS supports SFTP import and export of both projects and layers. FTP (plain, unencrypted) is not supported on iOS — SFTP only.
SFTP import and export require the Import/Export entitlement, available on Pro and Pro+ tiers.
Prerequisites
Before using SFTP, configure your connection in Settings → Remote Connections → SFTP. You need:
- Host — hostname or IP address of your SFTP server
- Port — default is 22
- Username and Password — credentials stored securely in the iOS Keychain
See Remote Connections — SFTP for the full settings reference.
Exporting a Project via SFTP
- Open the Projects screen from the main menu.
- Tap the project card to expand it, then tap the ⋯ menu and choose Export.
- In the export sheet, tap Upload via SFTP.
The app uploads the project's .gpkg file to the configured remote path. The filename is timestamped automatically: <project-name>-YYYY-MM-DD.gpkg.
Exporting a Layer via SFTP
- Open the Layers screen from the main menu.
- Tap the layer you want to export and choose Export.
- Pick an export format (GeoJSON, Shapefile, GeoPackage, KML, CSV, GPX, or DXF).
- In the destination step, tap Upload via SFTP.
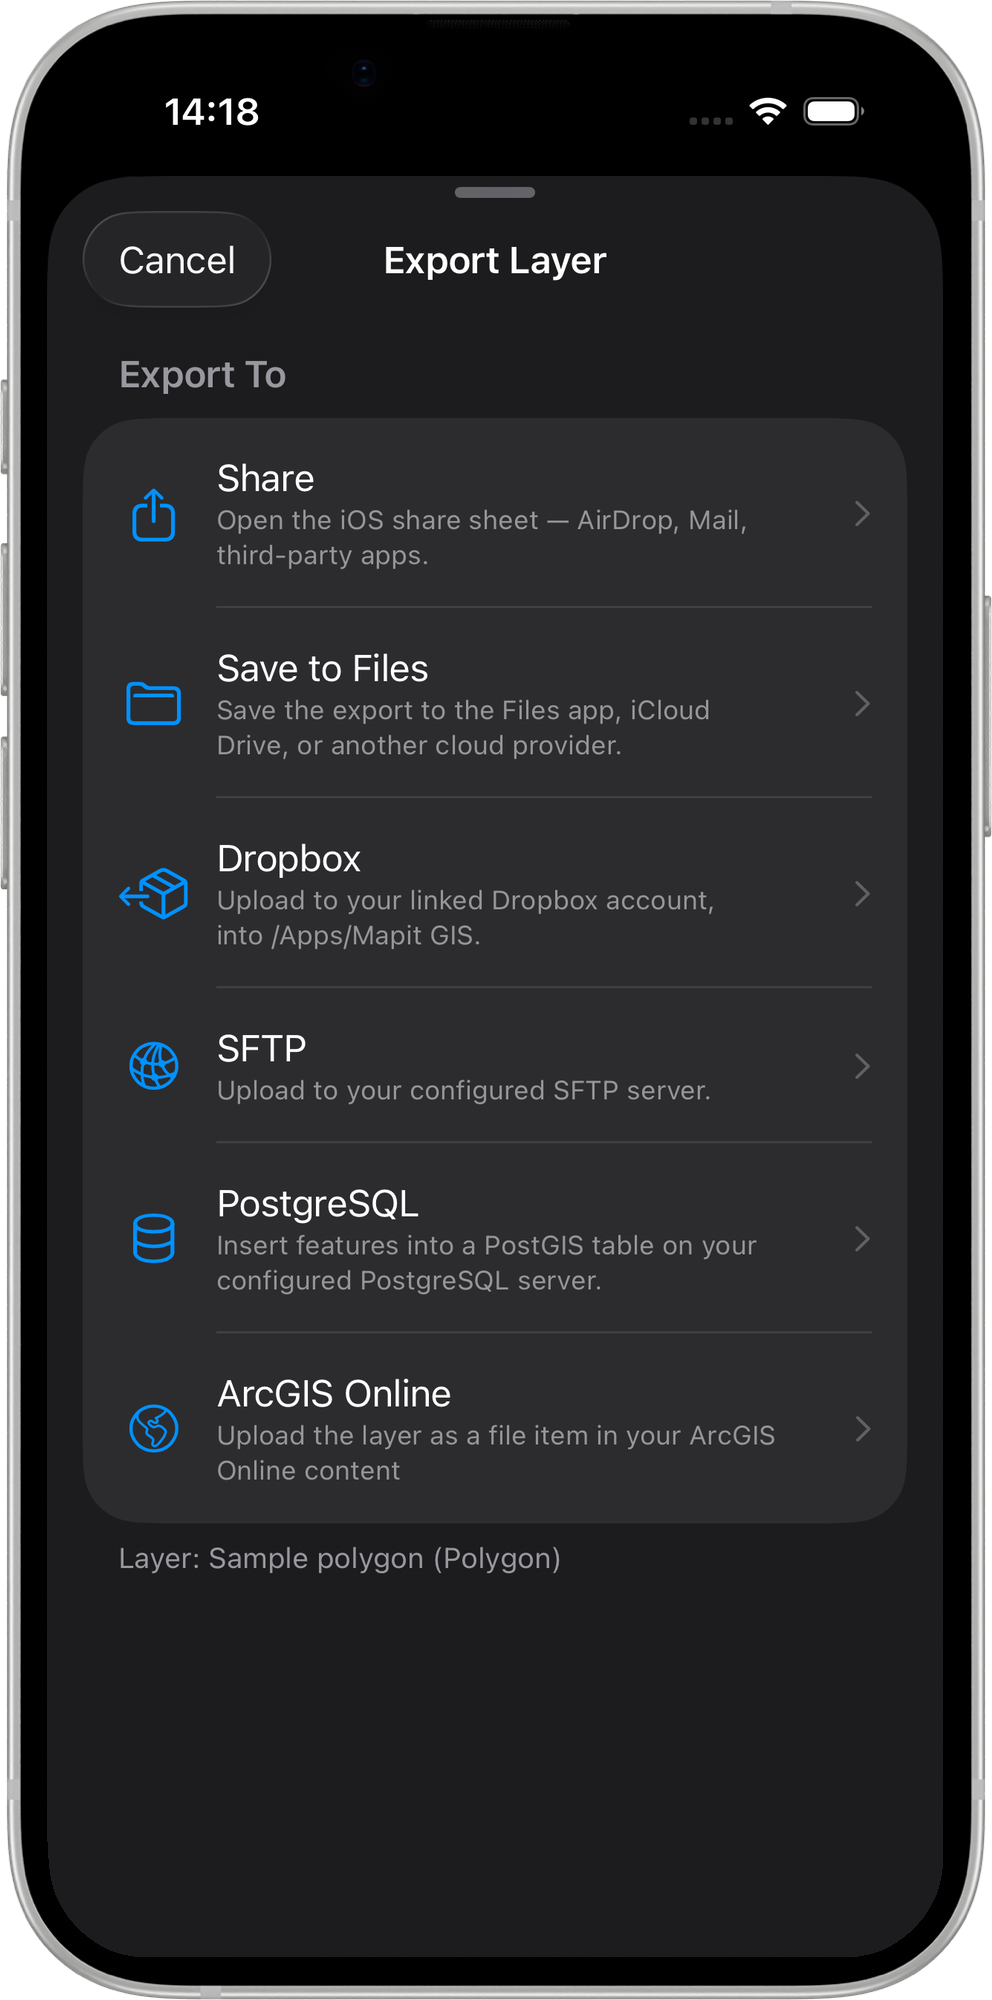
The file is uploaded in the chosen format to the configured remote path.
Importing a Project via SFTP
- Open the Projects screen.
- Tap + to open the Add Project sheet.
- Tap Import from SFTP.
- The app connects to the server and lists all
.gpkgfiles found at the configured remote path. - Tap a file to download it. A progress overlay shows the transfer, then the project appears in the projects list.
Importing a Layer via SFTP
- Open the Layers screen.
- Tap + Import Layer.
- In the Import Layer sheet, tap From SFTP.
- The app lists supported layer files at the configured remote path (GeoJSON, Shapefile
.zip, KML, CSV, GeoPackage, GPX). - Tap a file to download it. After the download, the normal import step runs and the layer appears in your project.
Host Key Handling
The iOS SFTP client (built on Citadel, a pure-Swift SSH library) accepts any host key without verification. This matches Android's permissive default and makes it straightforward to connect to self-signed corporate SFTP servers without extra configuration.
If you are connecting to a server on the public internet, use a VPN to protect the transfer in addition to the SFTP encryption layer.
Troubleshooting
| Issue | Solution |
|---|---|
| Connection failed | Verify host, port, username, and password in Settings → Remote Connections → SFTP. Tap Test Connection to diagnose. |
| No files shown | Confirm files exist at the configured remote path and have a supported extension |
| Upload fails | Ensure the SFTP user has write permission on the remote directory |
| Slow transfers | SFTP performance depends on your network. Use Wi-Fi for large projects. |