Exporting to PostgreSQL
Mapit GIS can export feature layers directly to a PostgreSQL database with the PostGIS extension. The export uses a direct JDBC connection from the device - no intermediate cloud relay or proxy server is required.
This is useful for pushing field-collected data into a central database for analysis, reporting, or integration with enterprise GIS workflows.
- Android
- iOS
Prerequisites
Before exporting, ensure the following:
- PostgreSQL server is running and accessible from the device's network (Wi-Fi, mobile data, or VPN).
- PostGIS extension is installed on the target database (
CREATE EXTENSION IF NOT EXISTS postgis;). - Network access allows the device to connect to the database host and port directly.
- Connection details are configured in the app (see below).
Since version 3.0.4, the app connects directly to PostgreSQL via JDBC. There is no need to whitelist a relay server IP address. The connection originates from the device itself.
Configuring the Connection
- Open Settings from the main menu.
- Navigate to Remote Connections → PostgreSQL Settings.
- Enter the connection details:
| Setting | Description | Example |
|---|---|---|
| Host | Database server hostname or IP address | db.example.com or 192.168.1.50 |
| Port | PostgreSQL port | 5432 (default) |
| Username | Database user | mapit_user |
| Password | Database password | |
| Database name | Target database | field_data |
- Use the Test Connection button to verify connectivity before going into the field.
Connection credentials are stored locally on the device. Ensure the database user has only the minimum privileges required - typically CREATE, INSERT, SELECT, and DROP on the target schema.
Exporting a Layer
- Open the Layers screen.
- Long-press the layer you want to export.
- Tap Export from the context menu.
- In the export destination sheet, tap Export to PostgreSQL.
Choose an Export Mode
A bottom sheet presents two options:
| Mode | Behaviour |
|---|---|
| Overwrite | Drops the existing table (if any) and creates a new one with the exported data |
| Append | Adds features to an existing table, or creates the table if it does not exist |
Overwrite permanently deletes all existing data in the target table. Use with caution in production environments.
Either option can be hidden in Settings → Export Settings if you want to prevent accidental overwrites or restrict your workflow to append-only.
Export Progress
A progress dialog displays the number of features exported. Features are sent in batches of 500 rows using multi-row INSERT statements for performance.
On completion, a confirmation message shows the table name and the total number of features exported.
Table Structure
The exported PostgreSQL table is structured as follows:
- The table is created in the public schema with the layer's name.
- A geometry column is added using PostGIS, with the correct geometry type and SRID.
- All attribute columns from the GeoPackage layer are mapped to PostgreSQL data types:
| GeoPackage Type | PostgreSQL Type |
|---|---|
| TEXT | TEXT |
| INTEGER | BIGINT |
| REAL / DOUBLE | DOUBLE PRECISION |
| BOOLEAN | BOOLEAN |
| DATE | DATE |
| DATETIME | TIMESTAMP |
| BLOB | BYTEA |
Geometry Handling
- Simple geometries (Point, LineString, Polygon) are automatically promoted to their Multi equivalents (MultiPoint, MultiLineString, MultiPolygon) for consistency.
- If the source layer has Z coordinates, the geometry is created with
ST_Force3DZ. - Geometries are inserted using
ST_GeomFromWKBwith the appropriate SRID. - The SRID is derived from the layer's coordinate reference system (defaults to 4326 if unset).
Error Handling
| Situation | Behaviour |
|---|---|
| Connection details not configured | Export is rejected with a "configure database connection" message |
| Network unreachable or connection refused | Export fails with a connection error |
| Permission denied on database | Export fails with an authentication or privilege error |
| Invalid geometry in a feature | The feature is skipped; export continues |
Example Workflow
A typical field-to-database workflow:
- In the field: Collect features using Mapit GIS with an external GNSS receiver for high accuracy.
- Back at the office (or over mobile data): Open the Layers screen, long-press the layer, and export to PostgreSQL in Append mode.
- On the server: Query the data in QGIS, pgAdmin, or your reporting tools. The table includes full geometry and all attributes.
-- Example: View exported data in PostgreSQL
SELECT fid, name, ST_AsText(geometry) FROM tree_survey LIMIT 10;

-- Example: Count features by condition
SELECT overall_condition, COUNT(*) FROM tree_survey GROUP BY overall_condition;
For recurring exports from the same layer, use Append mode and add a date column to your layer schema to distinguish between collection sessions.
If you are connecting over the internet, consider using a VPN or SSH tunnel to secure the database connection. The JDBC connection is not encrypted by default unless your PostgreSQL server is configured with SSL.
PostgreSQL export requires the Import/Export entitlement, available on Pro and Pro+ tiers.
Mapit GIS for iOS can export feature layers directly to a PostgreSQL database with the PostGIS extension. The connection is made directly from the device — no relay or proxy server is required.
PostgreSQL export requires Mapit Pro+ on iOS. Pro users see a paywall offering the Pro+ upgrade when they tap either export button.
Prerequisites
Before exporting:
- PostgreSQL server is running and reachable from the device (Wi-Fi, mobile data, or VPN).
- PostGIS extension is installed on the target database (
CREATE EXTENSION IF NOT EXISTS postgis;). - Connection details are configured in the app — see Remote Connections — PostgreSQL.
Configuring the Connection
Open Settings → Remote Connections → PostgreSQL and fill in the connection details:
| Setting | Description | Default |
|---|---|---|
| Host | Server hostname or IP address | — |
| Port | PostgreSQL port | 5432 |
| Database | Target database name | — |
| Username | Database user | — |
| Password | Stored securely in the iOS Keychain | — |
| Schema | Target schema | public |
| SSL mode | disable / prefer / require | prefer |
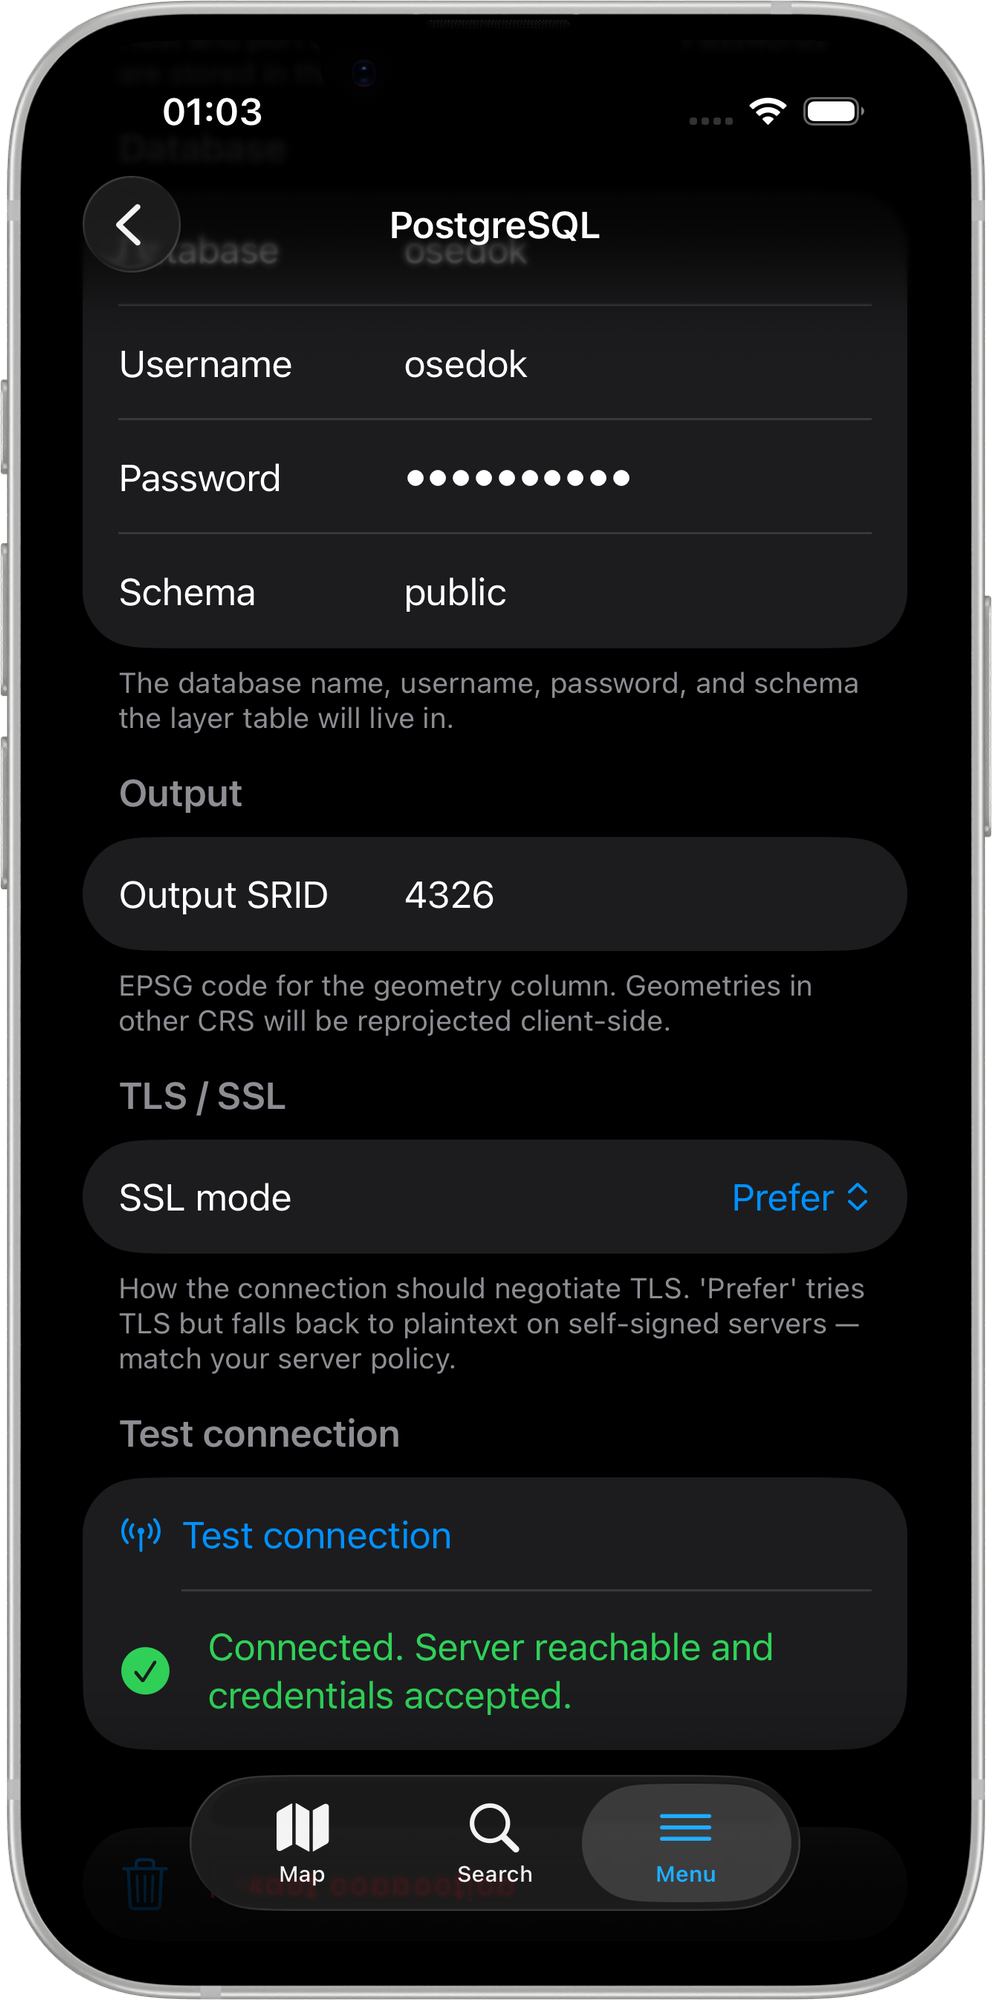
prefer mode trusts any server certificate, which matches Android's default. For production databases on the public internet, use require and ensure your server certificate is valid.
Exporting a Layer
- Open the Layers screen.
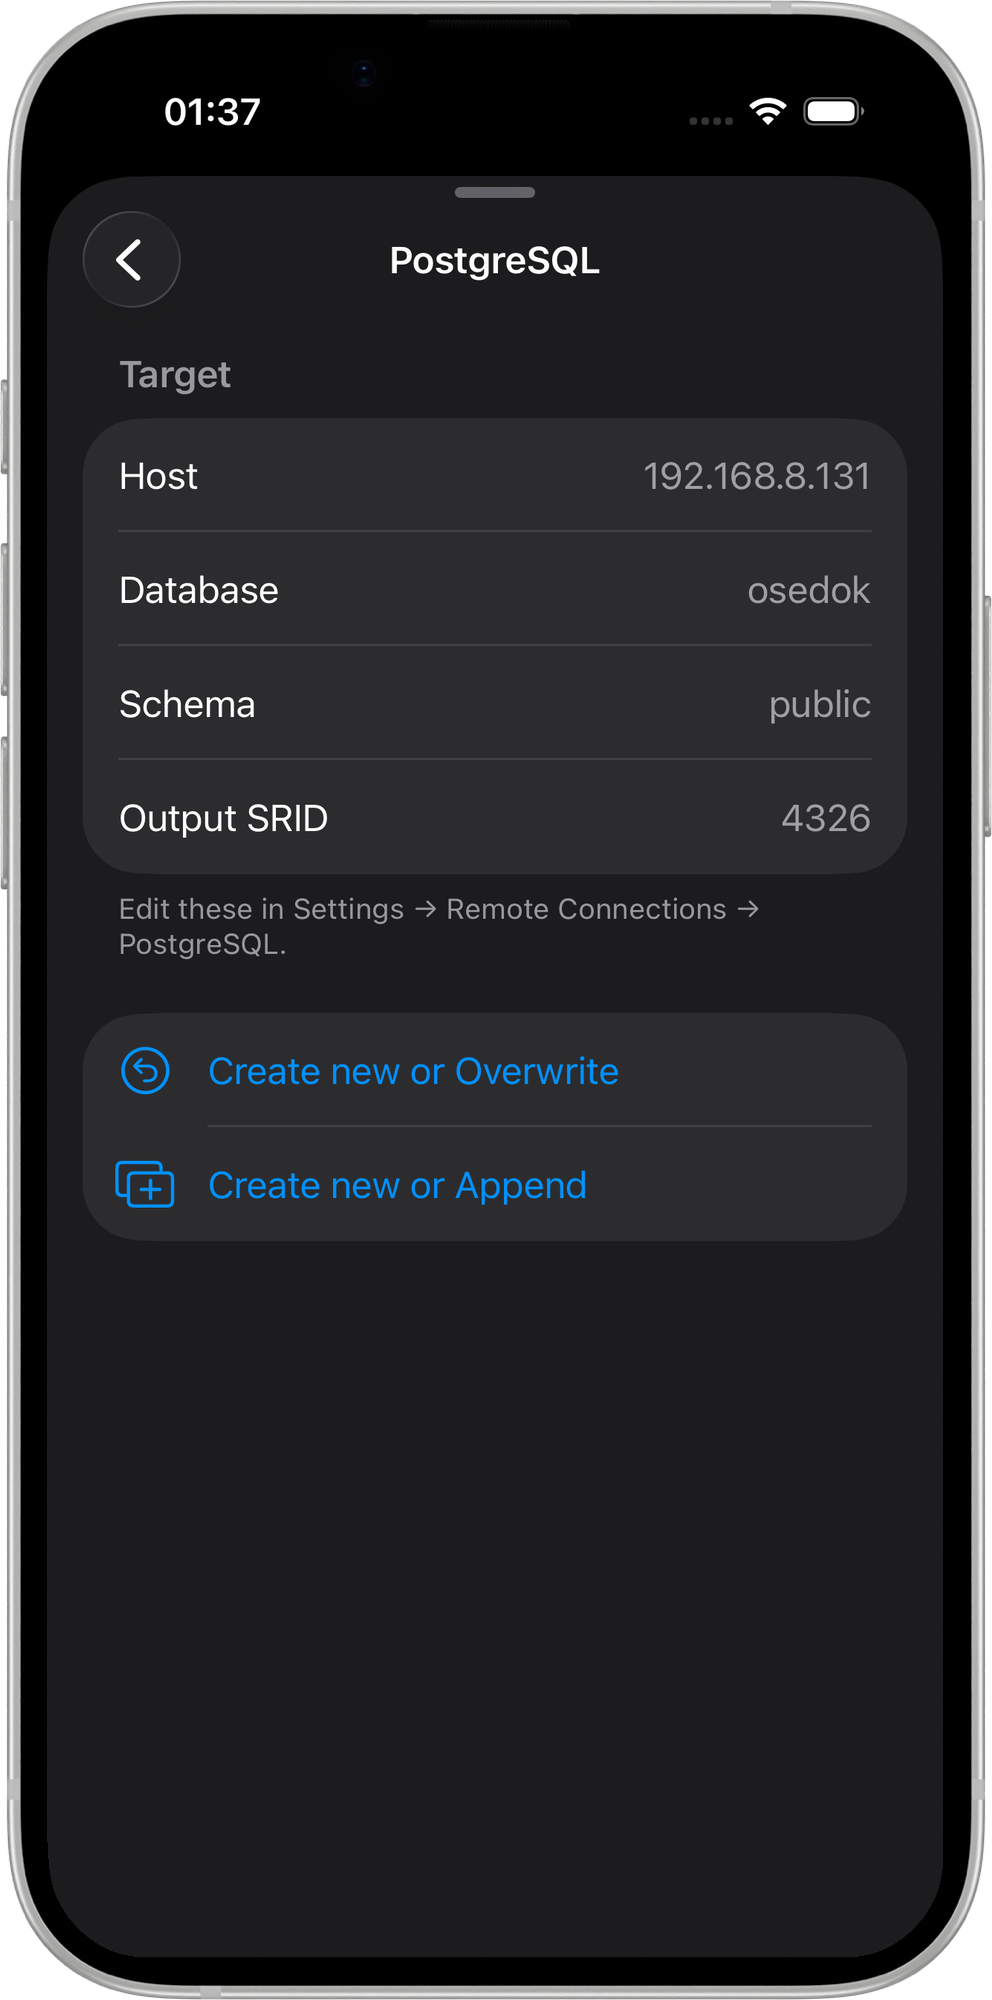
- Tap the layer you want to export and choose Export.
- In the export destination sheet, choose either Export to PostgreSQL — Overwrite or Export to PostgreSQL — Append.
PostgreSQL export is a layer-only operation. Whole-project export to PostgreSQL is not supported — use GeoPackage, Dropbox, or SFTP for full project transfers.
Export Modes
| Mode | Behaviour |
|---|---|
| Overwrite | Drops the existing table (if any), creates a fresh table with a GIST geometry index, then inserts all features. Destructive. |
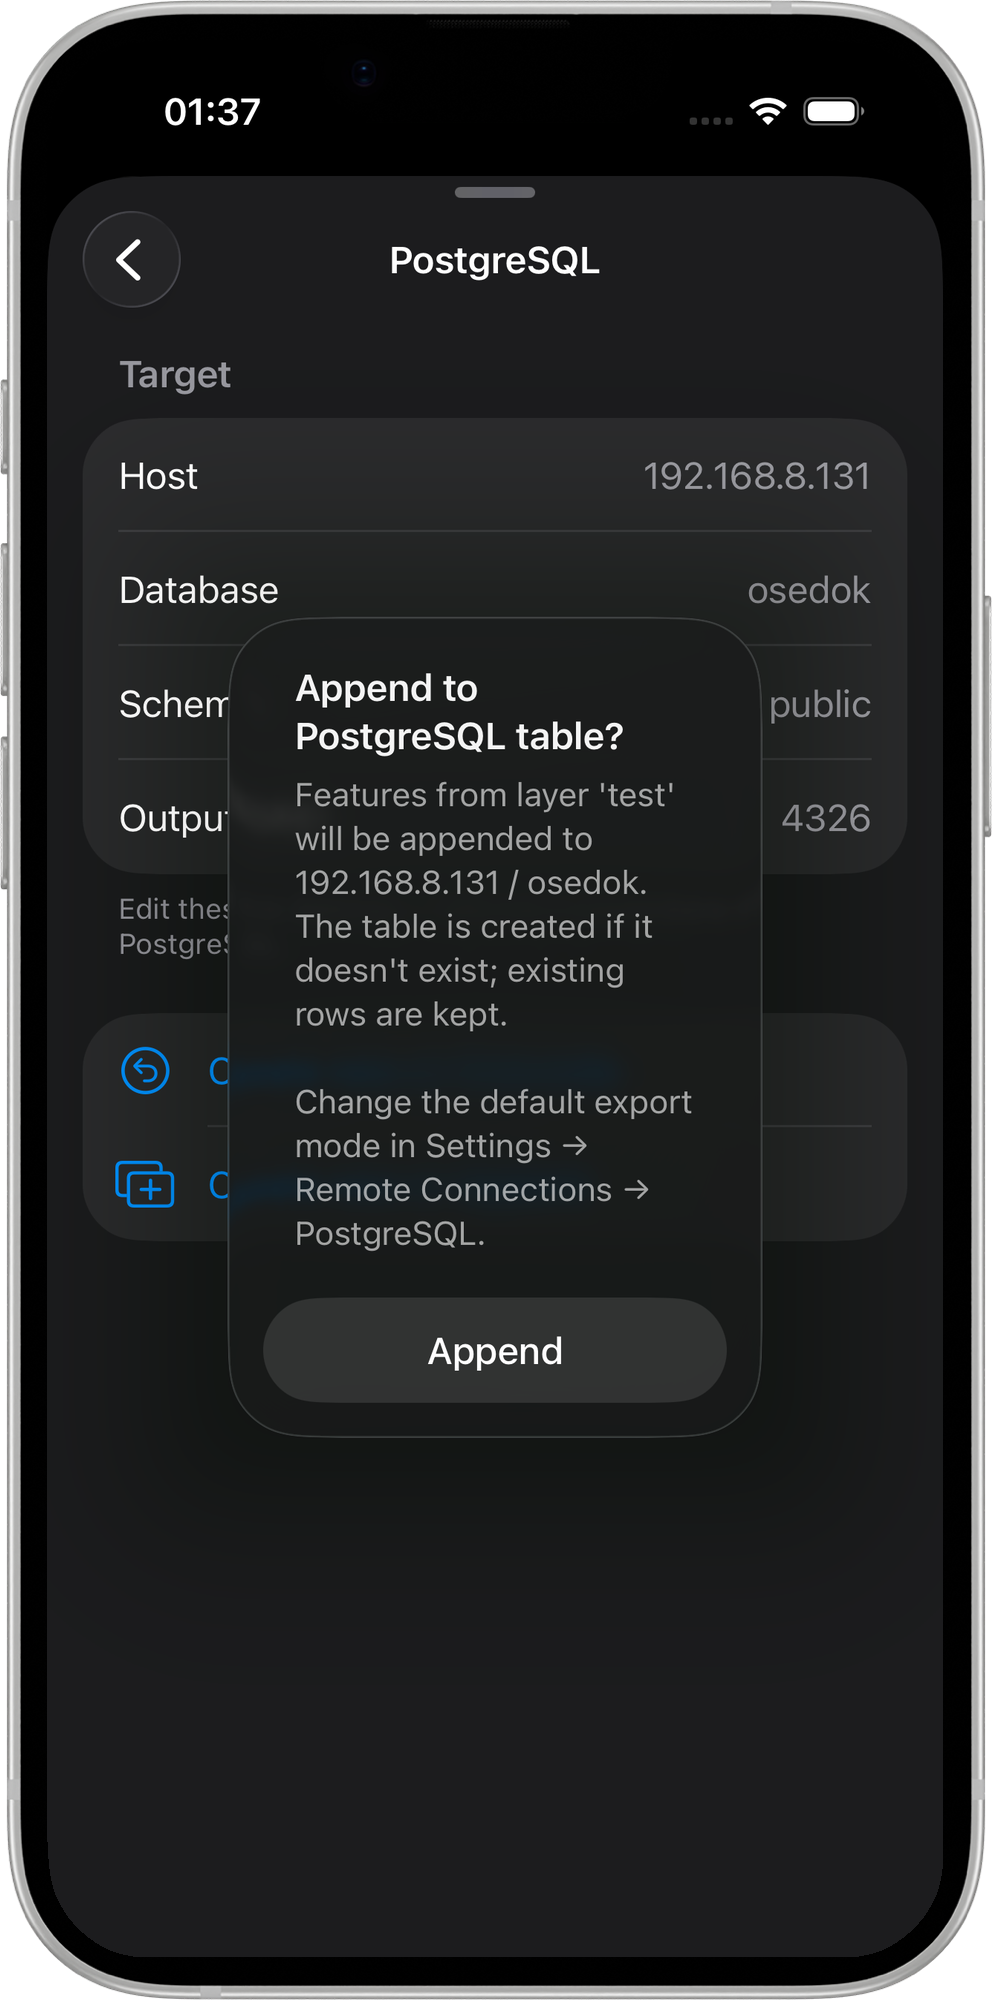
| Append | Creates the table if it does not exist (CREATE TABLE IF NOT EXISTS), then inserts features. Existing rows are not touched. |
A confirmation sheet appears before either operation, spelling out the layer name, host, and database so you can verify before committing.
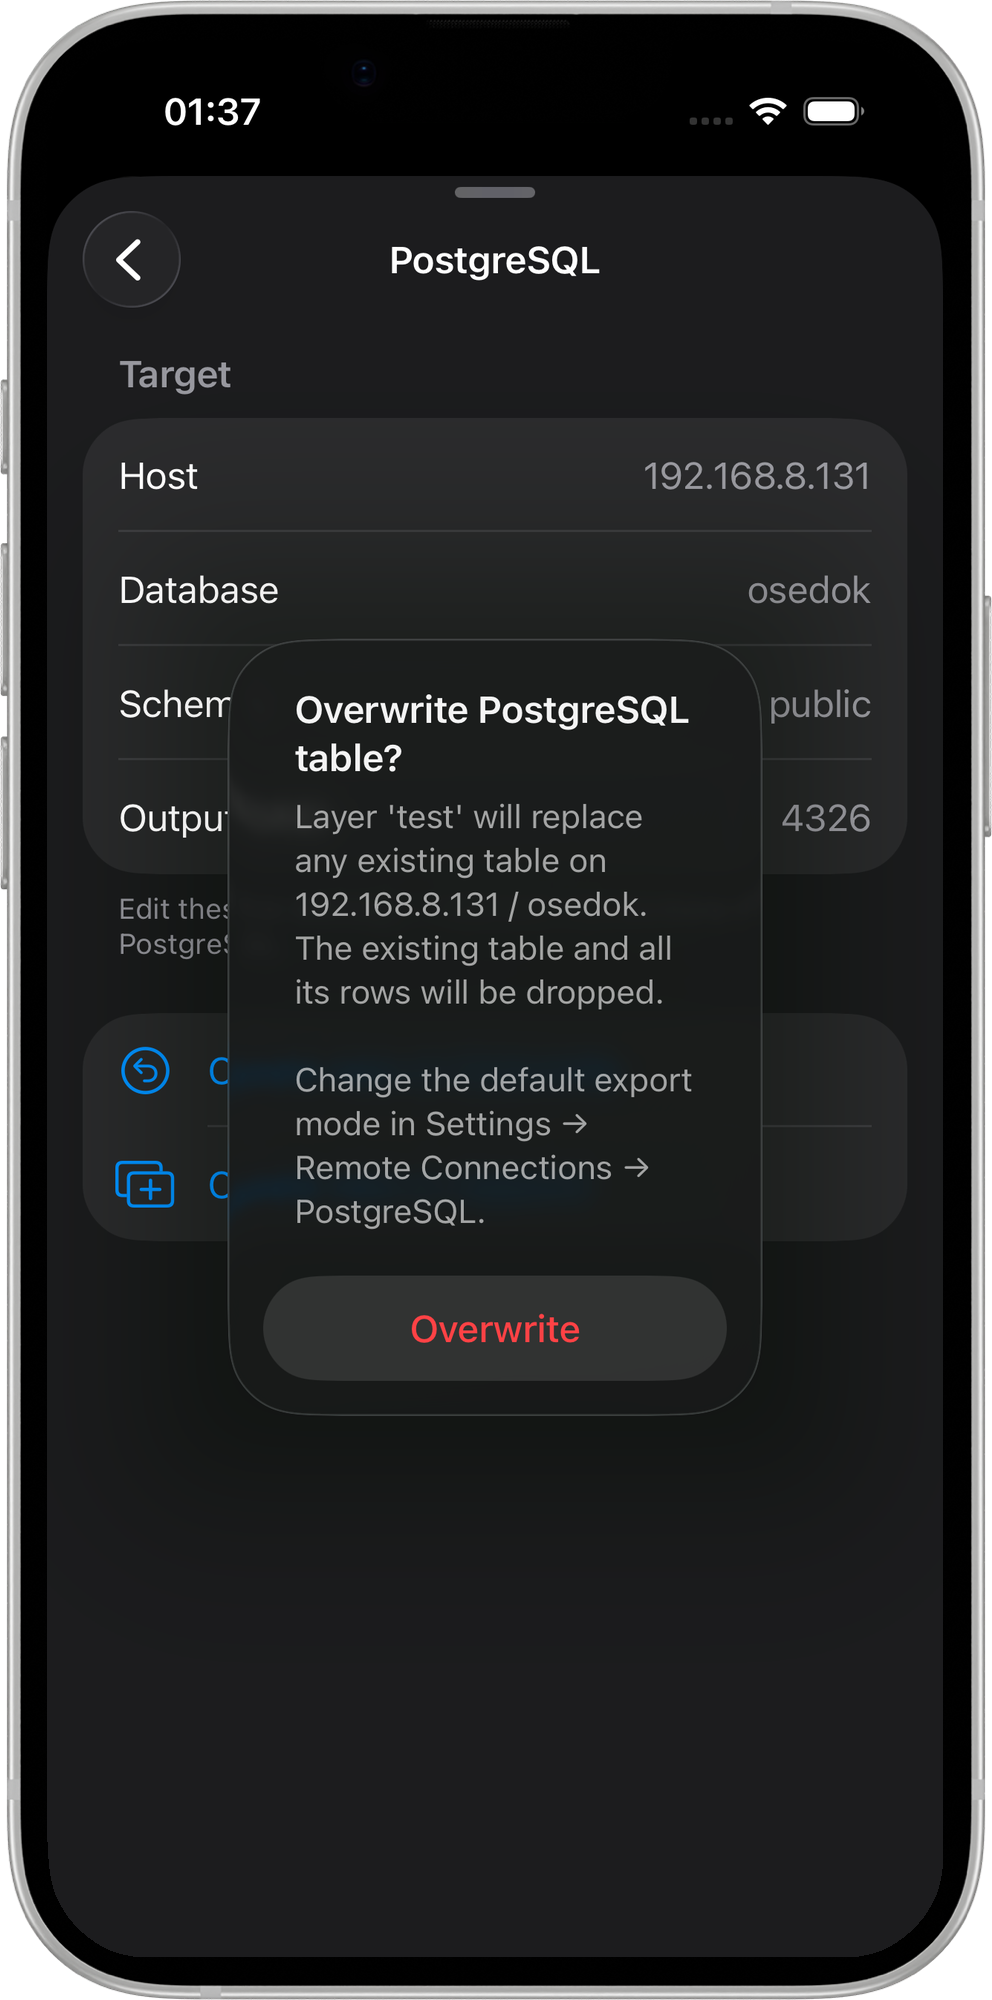
Overwrite permanently deletes all existing data in the target table. Use with caution in production environments.
Either mode can be hidden independently in Settings → Remote Connections → PostgreSQL → Export options to restrict a workflow to append-only or overwrite-only. See Remote Connections — PostgreSQL for details.
Export Progress
Features are written in batches of 250 rows, each batch wrapped in a BEGIN / COMMIT transaction. A rollback occurs only on a failure within the current batch — earlier committed batches remain on the server. A progress indicator shows the export fraction.
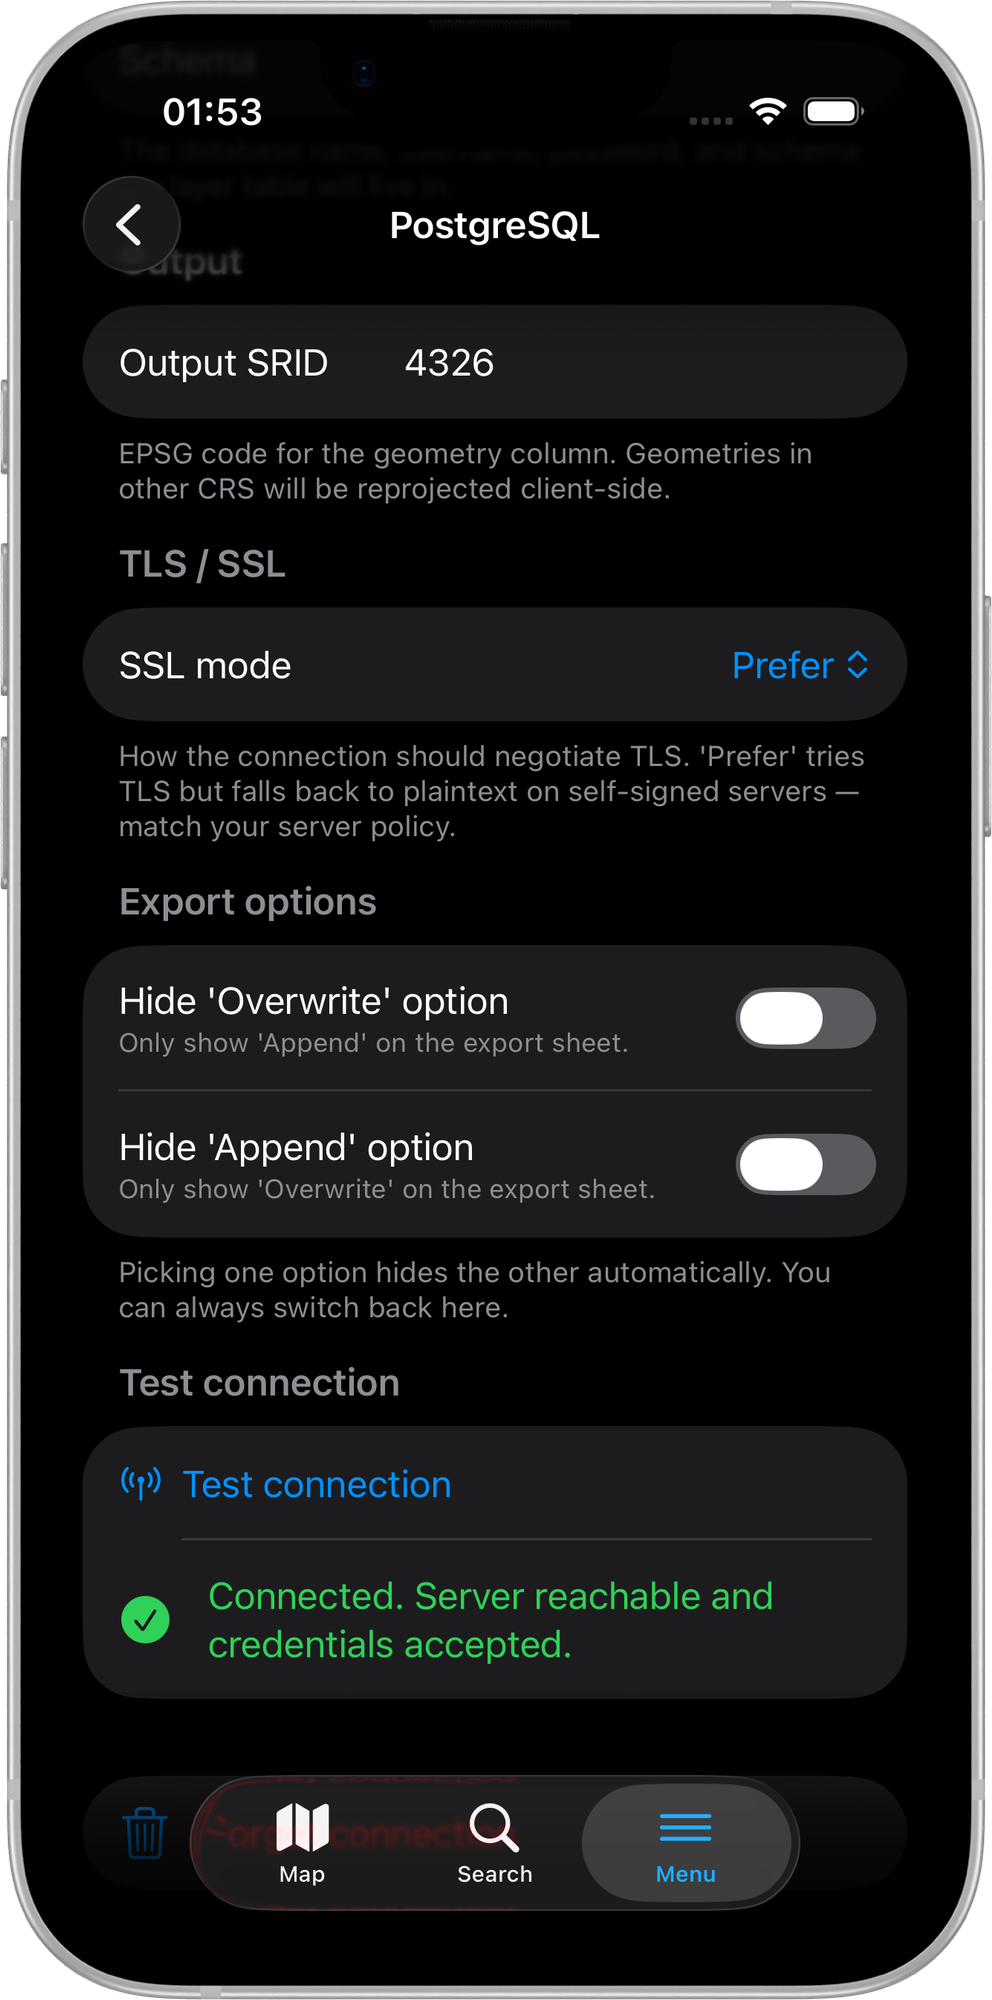
Output coordinate reference system
Geometries are exported using the Display Format set in Settings → Units & Coordinates. If that CRS differs from WGS84, all geometries are reprojected on the device before upload — no server-side reprojection is required.
Table Structure
The exported table is created in the configured schema (default public) with the layer's name. A GIST spatial index is created on the geometry column for Overwrite exports. Attribute columns are mapped as follows:
| GeoPackage Type | PostgreSQL Type |
|---|---|
| TEXT | TEXT |
| INTEGER | BIGINT |
| REAL / DOUBLE | DOUBLE PRECISION |
| BOOLEAN | BOOLEAN |
| DATE | DATE |
| DATETIME | TIMESTAMP |
| BLOB | BYTEA |
Error Handling
| Situation | Behaviour |
|---|---|
| Connection not configured | Export is rejected with a message prompting you to configure the connection |
| Network unreachable | Export fails with a connection error |
| Permission denied | Export fails with an authentication or privilege error |
| Invalid geometry | The feature is skipped; export continues with remaining features |