By taping the “hamburger” icon in top left corner of the map screen or swapping from the edge of the screen to the centre, you can access the main menu allowing to switch between the main app modules. This menu is called a “navigation drawer” and it will be reference as that in the other parts of the documentation.
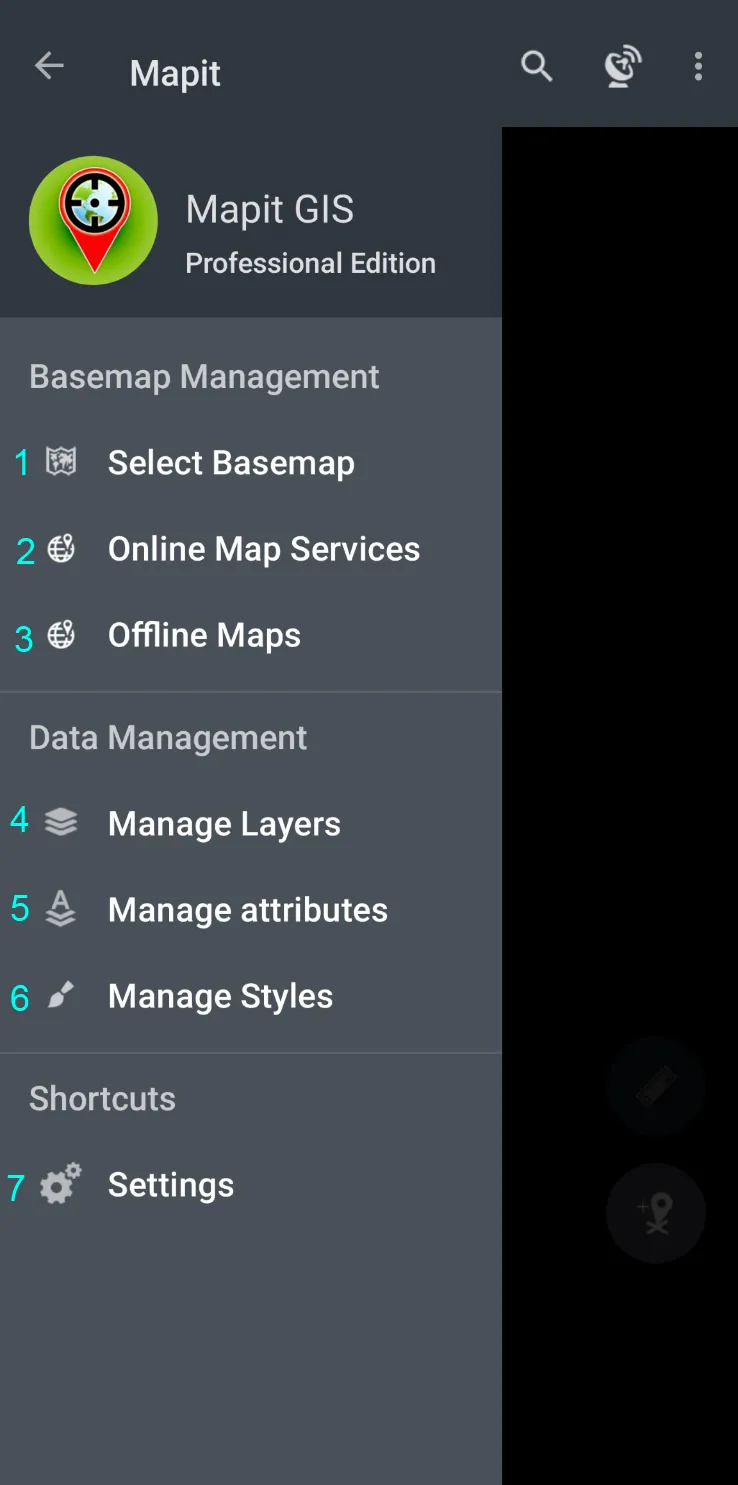
Navigation drawer is divided into 3 sections: Basemap Management, Data Manageent and Shortcuts. Below is the description of the elements included in each section.
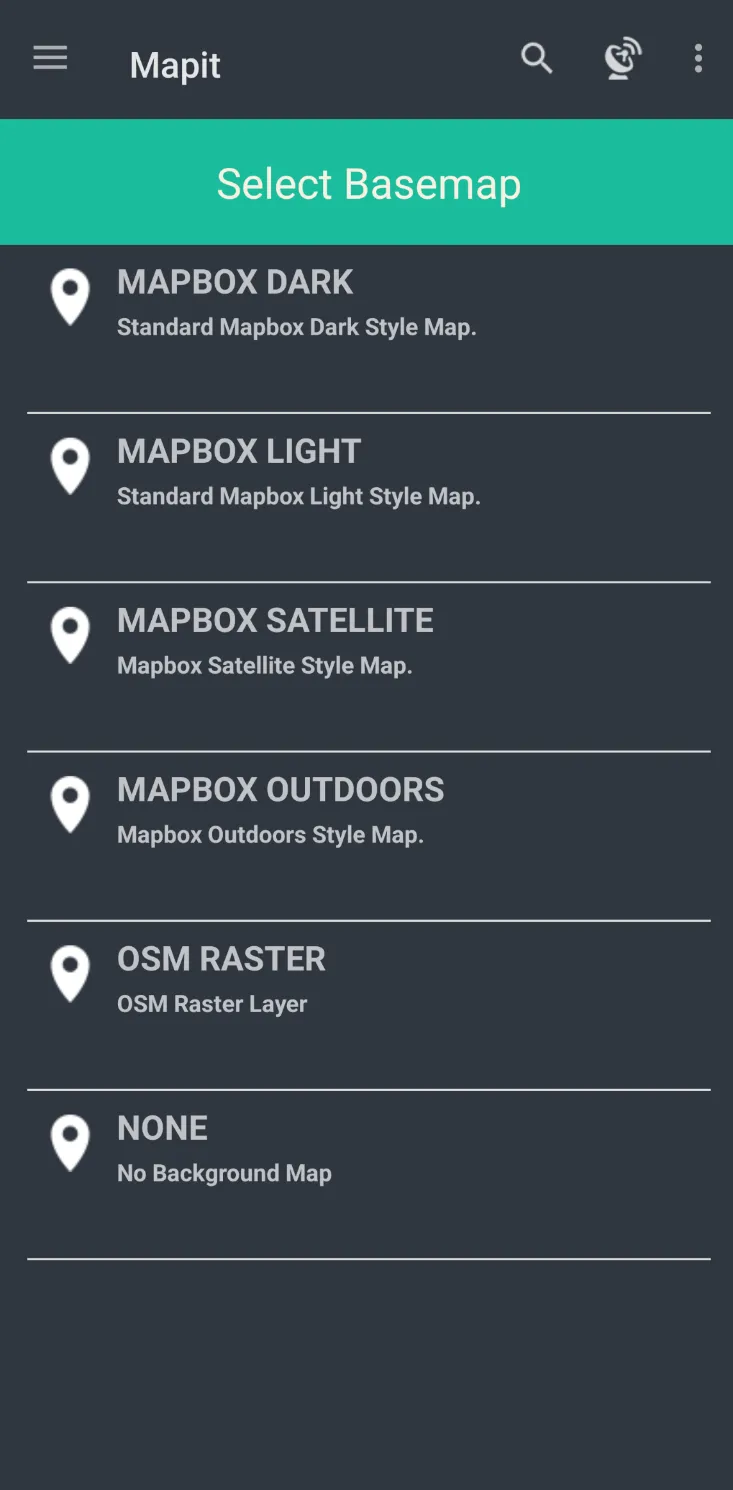
1 - Select Basemap
This section allows to switch between the basemaps. The default Mapbox basemap theme is derived from the dark or light theme of the device. The basemap can be changed by tapping on the basemap name on the list. One of the options allows also to switch off the background map completely.
2 - Online Map Services
On top of predefined Mapbox maps Mapit Proffessional is able to display additional layers of information available in a form of a ervice. At this moment Mapit supports WMS and WFS, however fupport of OSM (XYZ) and WMTS will be added in a near future.
The Online Services module has got few tabs. Each tab does contain some sample services - it is up to user to keep them in or remove if they are not relevant for their area. Users are able to add their own services. Please use the ‘Add’ button to start the process. Some services need more information than others, the most important is the service endpoint URL.
3 - Offline Maps
If you are working in remote areas and need to use a background mapping without the Internet connection you can use so called. mbtiles files to do so. To use .mbtiles in Mapit you need to prepare your data using e.g. qGIS or other 3rd party apps like Maperitive or MapTiler. You can prepare that way raster or vector data. Ready .mbtiles must be transferred to the internal device memory and added to the list by pressing the ‘Add’ button.
4 - Manage Layers
Using this module, you can manage the layers in the current project. You can add, remove, hide, show, or import data from a file as well as export collected data to a CSV, GeoJSON or Geopackage file (includes all the layers). To select the layer please tap on the list element. The selected row will be highlighted and the context menu will be displayed at the top of the screen.
Standard Android „Navigate Up” button when the layer is selected it clears out the selection and closes the context menu. If the layer is not selected it closes the „Layer Management” and user is navigated back to the map. The same effect can be achieved using Android “back” button.
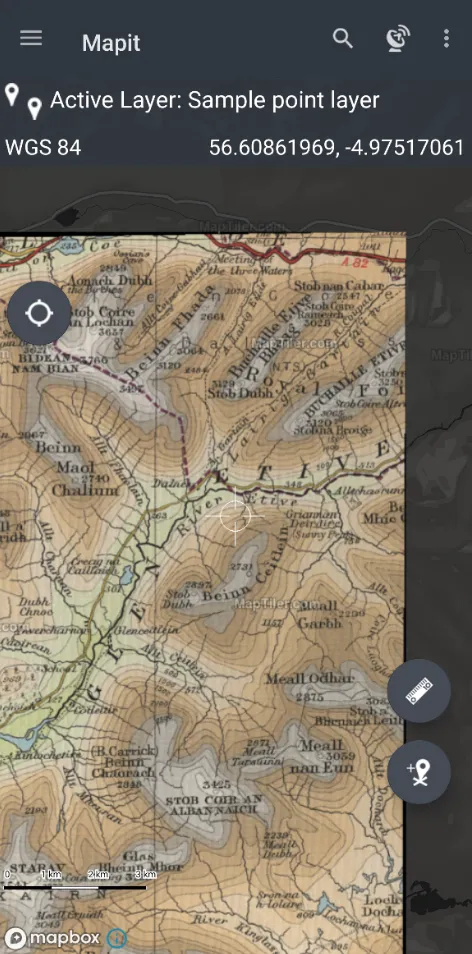
To be able to add new features to the layer it is required to have an active layer. The active layer automatically becomes visible on the map, even if the visibility is set to “none”. Only one layer can have “active” status at a time when you activate one layer if there was any other layer active before it will be deactivated automatically. If you want to deactivate a layer and do not make another layer active please select the active layer and press “change active status” menu item ones again. The information about current active layer is displayed on the status bar of the Map Screen.
If there is a need to temporarily hide some layers on the map users can easily change the visibility state for each layer to change layer visibility, select the layer then press the “eye” item on the context menu. Active layer is always visible on the map even if the visibility is set to “none”.
5 - Manage Attributes
The concept of the Attribute Sets came from the fact that some information is very often entered multiple times during the surveys. So for example if there was a need of gathering information about the colours of the cars parked along the streets – instead of typing the colour names each time you open the form you would probably prefer to have a predefined list of colours and when entering the data you would simply chose required value from the dropdown list.
Utilising the functionality described above you can also make your data more consistent, typos free and better structured and you can achieve this simply linking your layer field with the attribute set field. In Mapit Spatial you need to use attribute set in 3 cases:
- To create dropdown list of predefined values (single selection frm the dropdown list)
- To create multi-selection list of predefined values (checkboxes)
- To utilise barcode and QR scanner for the TEXT field type
6 - Manage Styles
Allows styling of the vector layers. The styling is based on the specific value of the attribute. Detailed guide how to achive this will be added soon.
7 - Settings
Mapit Professional settings allows users to configure the app to the specific needs. You can hide or show certain elements of the UI like zoom control or set preferred measurement units and preferred coordinate system. The settings are split into some categories to simplify navigation.